

0. Cel
Cel painting is a classical animation practice where you ink and paint clear acetate sheets and layer them with other cels or backgrounds. We see the ghosts of this process in software like TVPaint or in some hybridized trad-digital workflows in independent animation.
I worry the myth that cel is a luxury process reserved for the high budget animator is scaring a lot of artists away from trying out this cool process. I have made works on cel for little to no cost with a combination of material knowledge and rethinking how I use cel and I think you can too!

I’ll use some production images from my 3-channel work, “Pine Processionary” to show how I work on cel. PP was my first work on cel back in 2018.
1. Overview
Hi welcome! This is a DIY cel tutorial for messy painters, experimental animators, and people looking to try something new! The goal of this tutorial is to get you a quick and cheap setup so you can get painting.
BTW this was originally written around 2019 and I’ve updated it a little over the years.
2. Shopping/Recycling Materials
Ink: Ultrafine Sharpie or any permenant marker/Posco should work great!
For dip pen or brush lines use Dr. Ph. Martin's Black Star Waterproof India Ink Hicarb. What I like about the doctor’s ink is that it runs a super clean line and dries fast (this is important for when you need to stack cels to trace). You can also scrape it off which is fun if you mess up or you want to add some film-scratch textures.
Buying a dip pen: I combine doctor ink with a dip pen. DO NOT put this ink in a fountain pen! I like to use these nibs with a nib holder like this. This combo is a “dip pen.” You will also want something inkwell shaped to dip into. Clean nibs with rubbing alcohol.
Buying Paint: I like to use matte acrylic paint bottles from Blick for ~$3 each. Most acrylics seem to work you might just have to mix some colors with white.
Buying/Finding Cel: Lightfoot has some cel but I find it’s not much different from using Duralar or Acetate which is at most craft stores. Most of my cel has been hand-me-down or from material re-use stores. You can wash used cel. Old overhead projector sheets, transparencies for screenprinting, lighting gels, plastic packaging, find some old trash!
Gloves: Touching the cel can leave oils that keep paint from sticking so cover your hand! You can use nitrile gloves, white cotton eczema gloves, a piece of paper to rest your hand on, a winter glove.
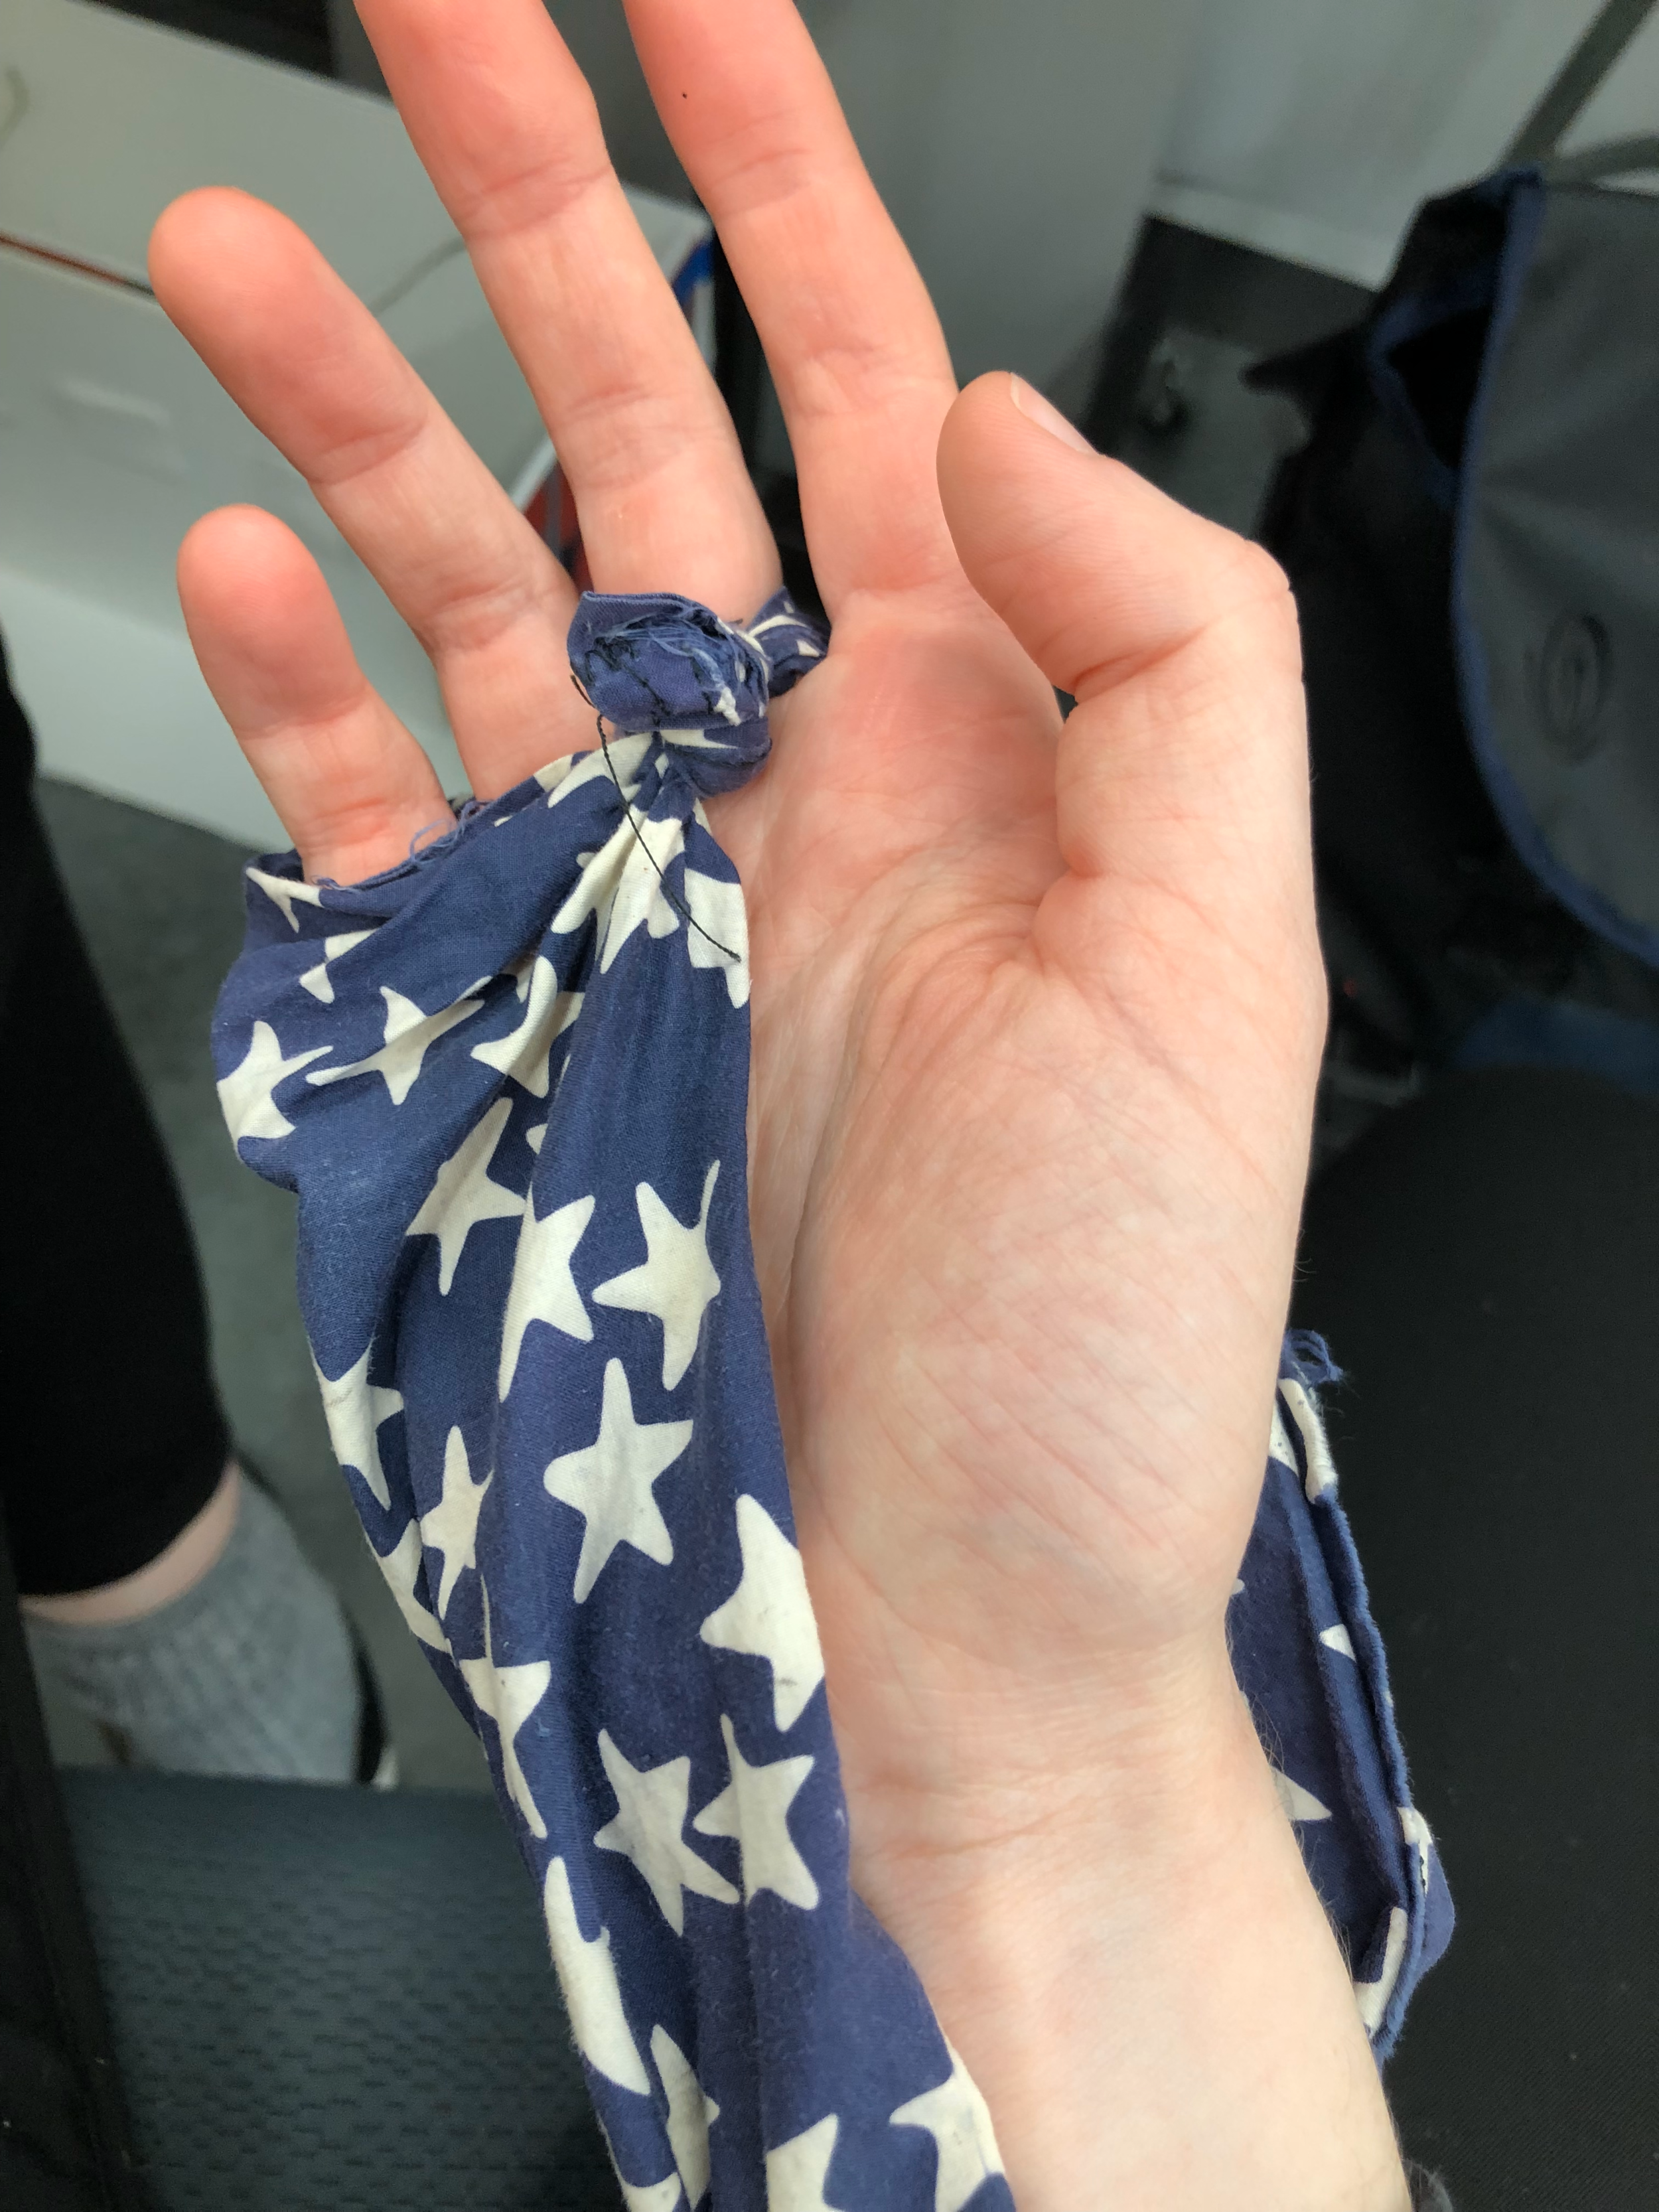
Glove Concept 1

Glove Concept 2
3. Process: Ink and Paint Dept


Process: Inking
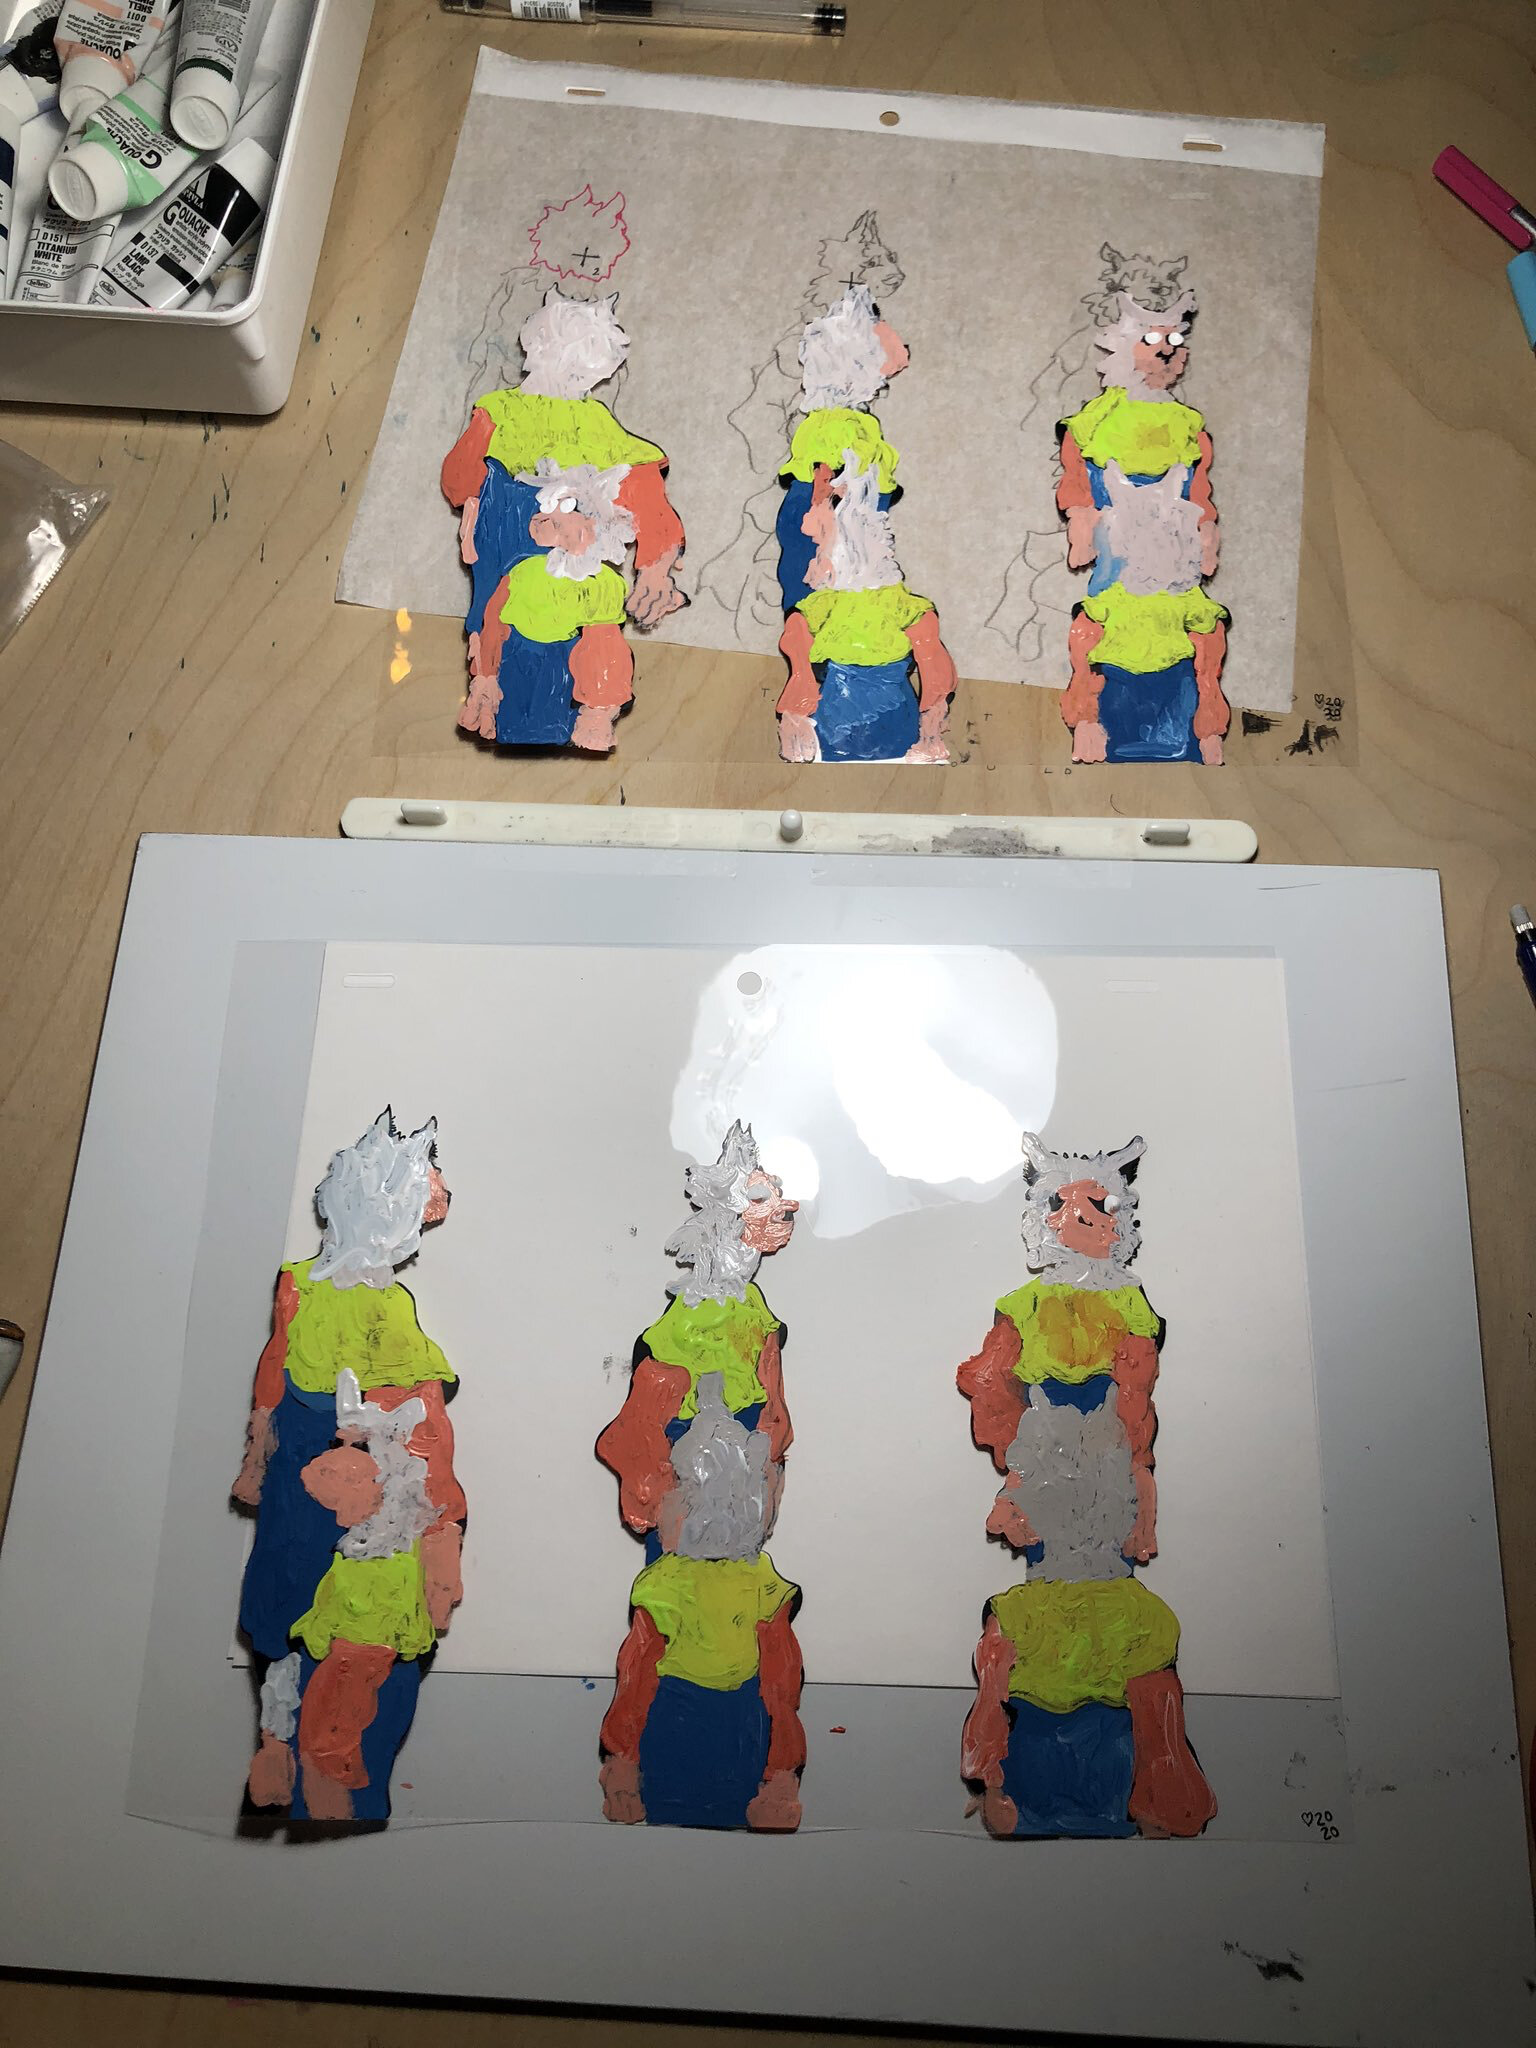
Inked lines on one side and paint on the other!!!! FLIP THE CEL!!!!!
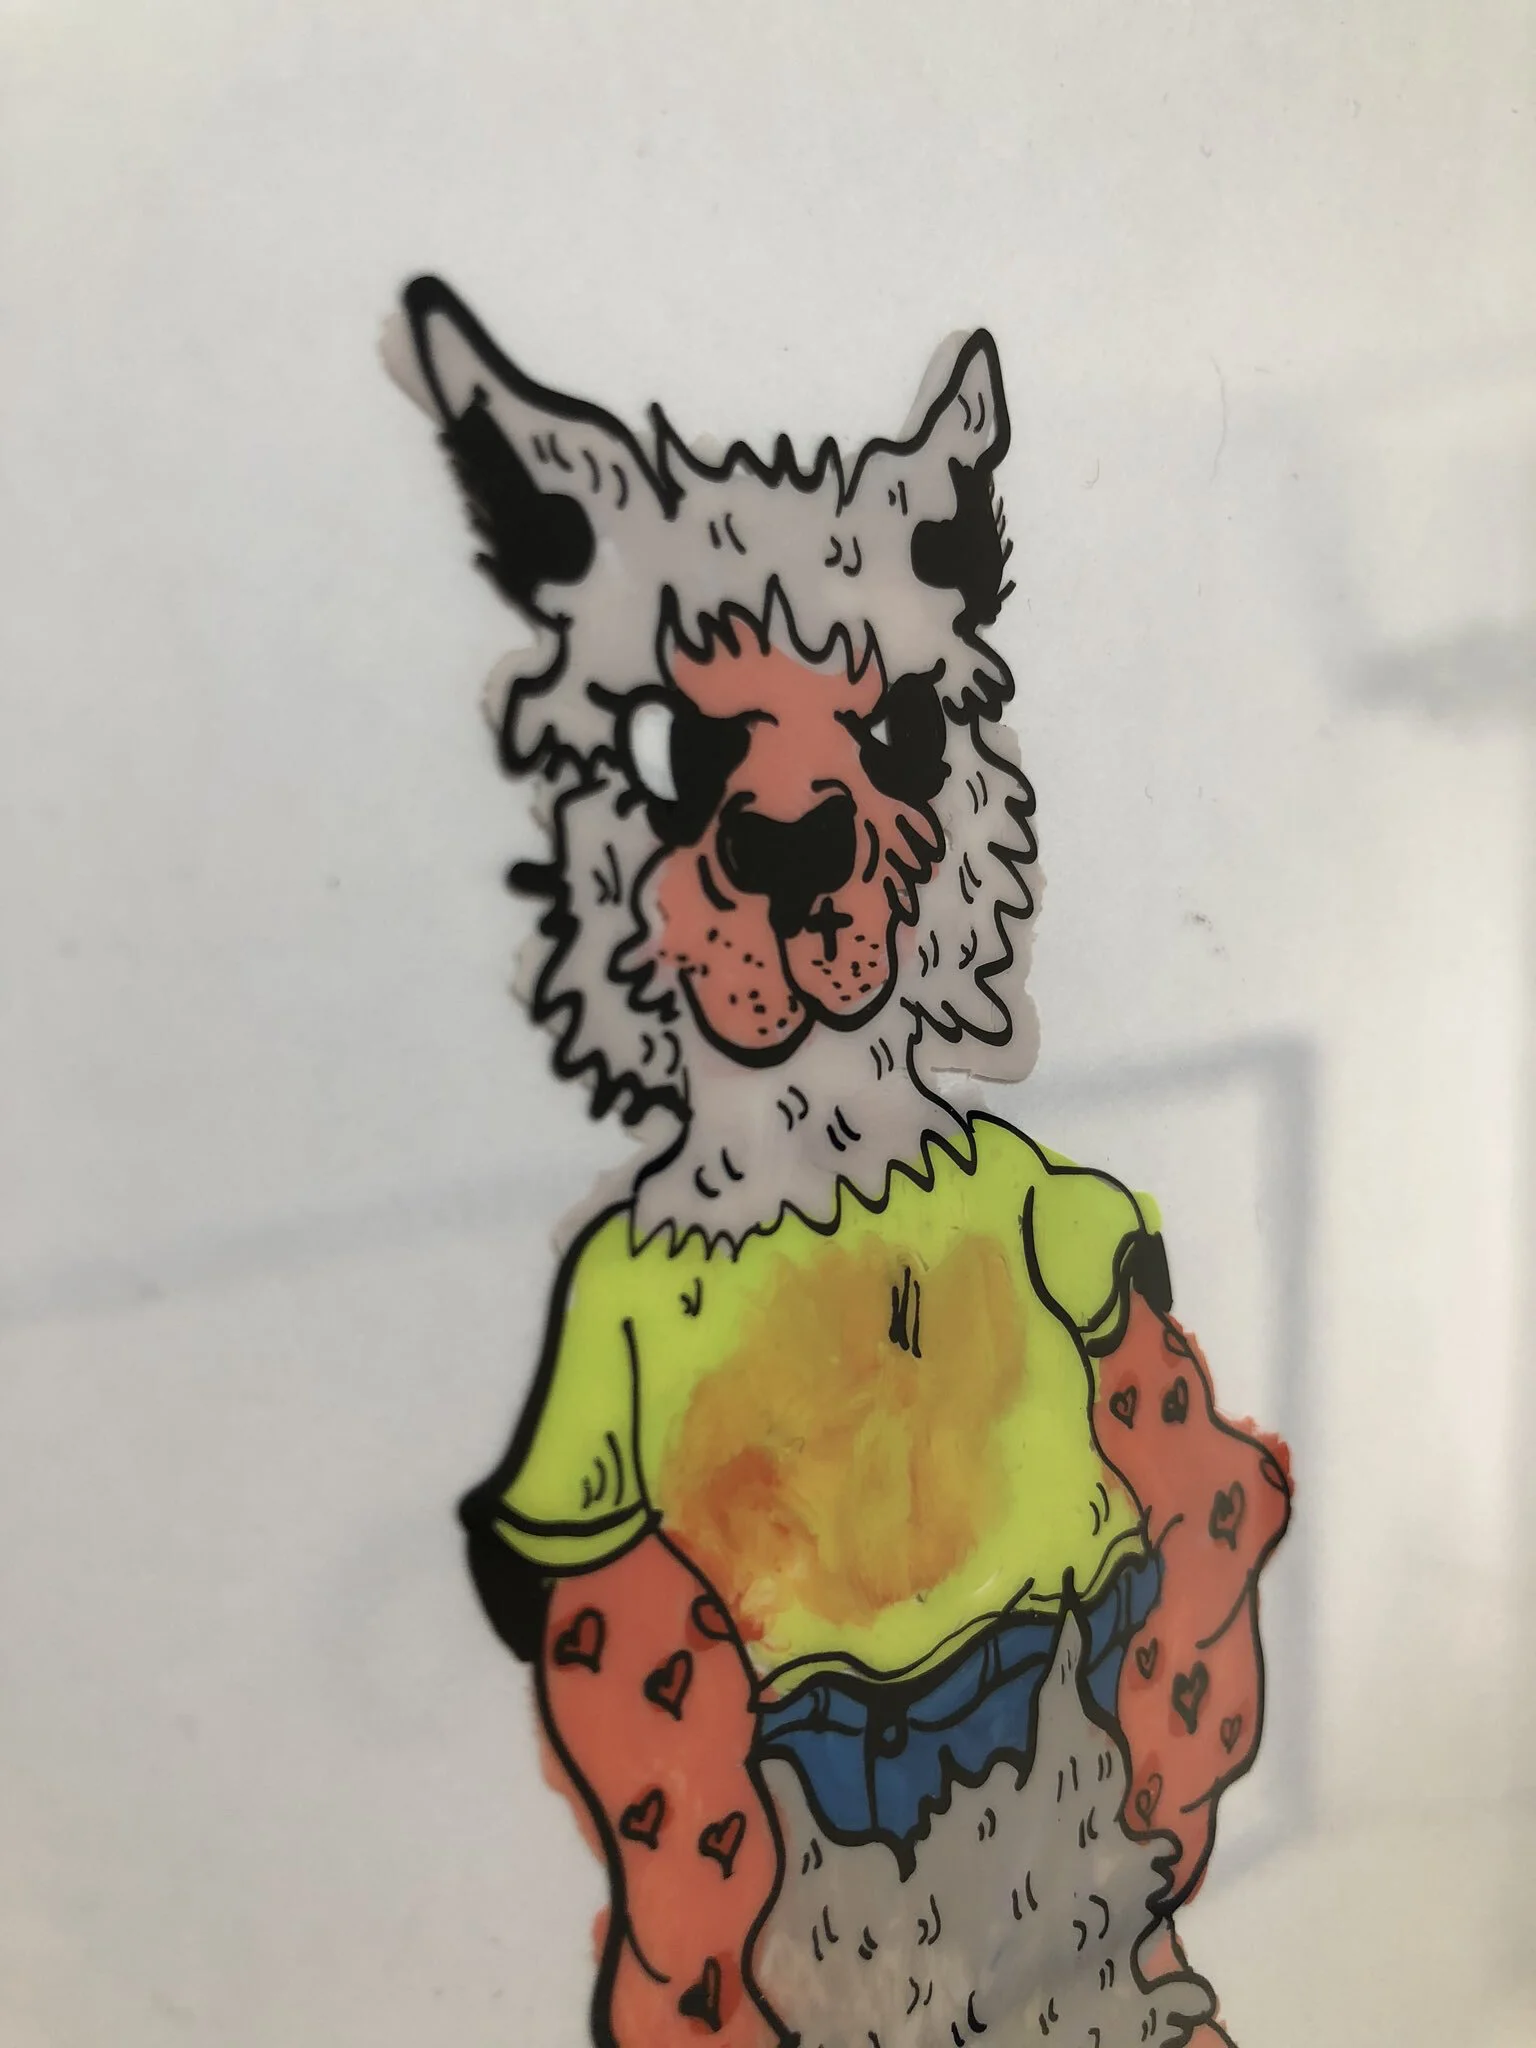
Process: Painting

Production shots from Pine Processionary

Here’s the back side of my early cel:
4. Capture
You can photograph your cels with a downshooter camera setup, just use a polarizing lens. I prefer to scan cels to keep them crispy!
5. Strategies for efficiency and cost-cutting
Work really small. I see a lot of rotoscope cel painters use this strategy. They’ll fit 6 or 8 frames per sheet instead of one frame per sheet. This saves a ton of cel and gives you a constraint to work within which is fun.
Use my crosshair method on cel. This means you are only using 2 sheets of cel but you get a whole loop!
Paint cel for just the background and then animate digitally
Just make a cel illustration!


If you are hungry for more cel knowledge, I always like to suggest this this piece of history: Hannah Frank’s essay “The Multiplication of Traces: Xerographic Reproduction and One Hundred and One Dalmatians.”
General Tech Notes:
Scanners: Scanning your animation is easier, cheaper and takes up less space than using a down shooter or camera stand. You don’t need good lighting nor a nice camera nor capture software. I use an A4 ~$50 scanner from Staples for ALL my art. I have the lid removed and I use a stack of paper taped together as my “lid” to hold the artwork flat.
Peg bars/punching: I use a 1/4” round peg bar (you can make one using dowel and some hot glue) and a regular hole puncher (just get one with adjustable heads.
Light tables: Led light pads used for tattoo artists are running about $20-30 online. Alternatives: glass tables with lights underneath, window on a sunny day, old computer monitors with white screen, bike light in a large Tupperware, get resourceful and creative with what’s around you!
This guide is designed for DIY animators and artists working non-commercially. Please use respectfully!
Make a practice of sharing knowledge with your peers and community if you have the resources.